I'm the first to admit that my weaknesses are layering and working in three dimensions, at least when it comes to crafting (actually the layering is an issue clothes wise too, I never know what goes!) Anyway, instead of ignoring weaknesses it is best to work on them in the hope that they become strengths.
I had bought a couple of templates from house of Zandra when I went to a craft exhibition in Exeter last year, and, since last year, they have been sat in my craft room gathering dust. I have two; a chest of drawers template and a book box one. I decided to use the book box one, as it seemed a little easier than the chest of drawers and, as a newbie, I thought I'd dip my toes in the water instead of plunging headfirst into the deep end.
The templates are made from durable card so they can be used again and again, and they are relatively cheap. The drawback is that, at least with the book box template, the instructions are not explicit enough for somebody like me, namely the direction of the folds. Still, the odd problem aside I managed to make something.
I used the new Roald Dahl collection to make this. I was torn between the BFG and Charlie and the Chocolate Factory but ultimately decided on the latter as it would be a brilliant box to put a box of chocolates in and give as a gift!
I made a book with the decoupage, and also used the book paper to line the inside. I also added the factory decoupage, and the oompa loompas (so happy they were the original drawings and not the film versions), added Mr Wonka leading the guests in the bottom corner, and attached a sentiment and a golden ticket to springs to give it more of a 3-dimensional vibe. On the other side, as well as the book, I made some of the spinners look like lollipops by adding ribbons, and added a fragment charm with gold glitter and the golden ticket, as well as a golden ticket ribbon. Finally I cut out a flower from more paper, inked it with tattered rose, and added it to the corner.
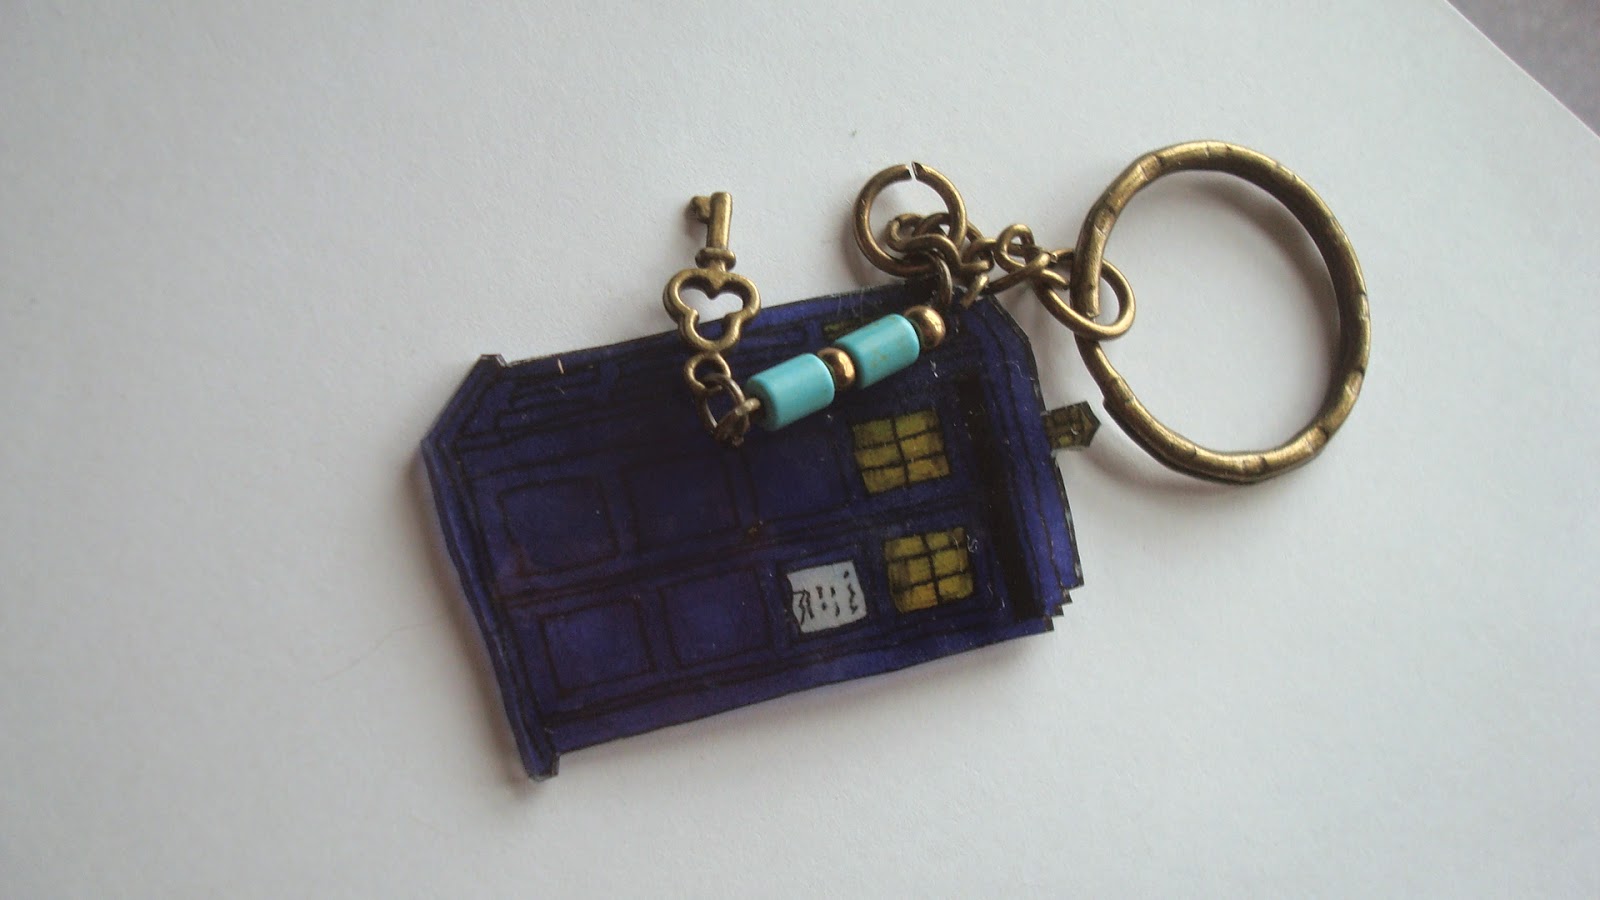
As well as this, I have been working on more shrink plastic, namely the house keyrings. I am admittedly, a huge geek when it comes to Dr Who so I decided to do a few of these
Draw or trace a Tardis onto frosted plastic, then colour with sharpies. Punch a hole in the corner then shrink. Once shrunk, add a keyring fob, then attach an eyepin with some beads strung onto it. Then I added one of the little keys I have to the bottom of the eyepin.
Lastly, the update on the photo stitch. I have now started page 7 of 8.
Not a bad week's work considering I'm full of cold! I think I may have enough stuff soon to start selling things, though I may keep this under the back burner until after my book launch.
I hope everyone is well, and crafting up a storm
Until next time
Emma x


Comments
Post a Comment