I had today and Thursday off this week, and when it came to Thursday I was feeling decidely unproductive, so much so I was worried the only thing on the blog this week would be my decluttering. Thankfully, today I have more than made up for it. Let's get the decluttering out of the way first though. This weeks items are:

A pair of old Disney christmas socks. The furry parts on the top are a little tight on my fankles now. In the bin.

A load of craft magazines. I tend to get all the tips I need online now, so I didn't need these anymore. Binned. (bin can mean recycling by the way)

A belt. As you can see from the picture below it has started peeling, and it can't be fixed. Bin.

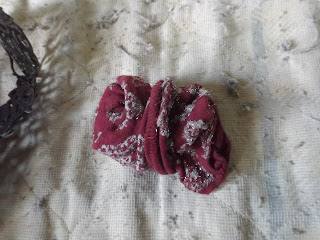
Ah the bane of my existence - the glittery sock! Why do I insist on buying stuff like this? Bin
Grey fluffy socks. Past their best, they have lost their elasticity and bring to mind my childhood nickname of Nora Batty. Bin


Christmas socks. Good god these are awful. You'd think they would be comfortable but with Rudolph at the top of each (one minus his nose) they are not. Bin.

Also thrown away but not pictured are a pair of knickers. They had a hole in, in addition to the three they are supposed to have. Bin.
Next is an up to date pic of the Disney stitch. This page is definitely going to take me past the end of this month, which unfortunately means less time on the Middle Earth stitch

 There is a lot of blending in this section, which is slowing my progress as i keep changing my mind about what to do next.
Finally, I have used up the last of my shrink plastic today, to make some jewellery. I had a little bit of white, and a page of clear. To use clear you have to sand it first. If you want to stamp like I did, you have to use an ink like Stazon, as that does not smudge.
 Before I get onto the shrink plastic pieces, this is from the last Beadhaul box. I sed jump rings to attach the four chevrons onto a chain at equidistant spaces. You have to be careful to get it right, or they will hang at an angle.


These are Tim Holtz blueprint stamps, onto white shrink plastic, coloured with sharpies. After shrinking (use the low setting on the heat gun and they never do that awkward curling thing where the edges stick to each other) I used UTEE on them at the end to seal them.


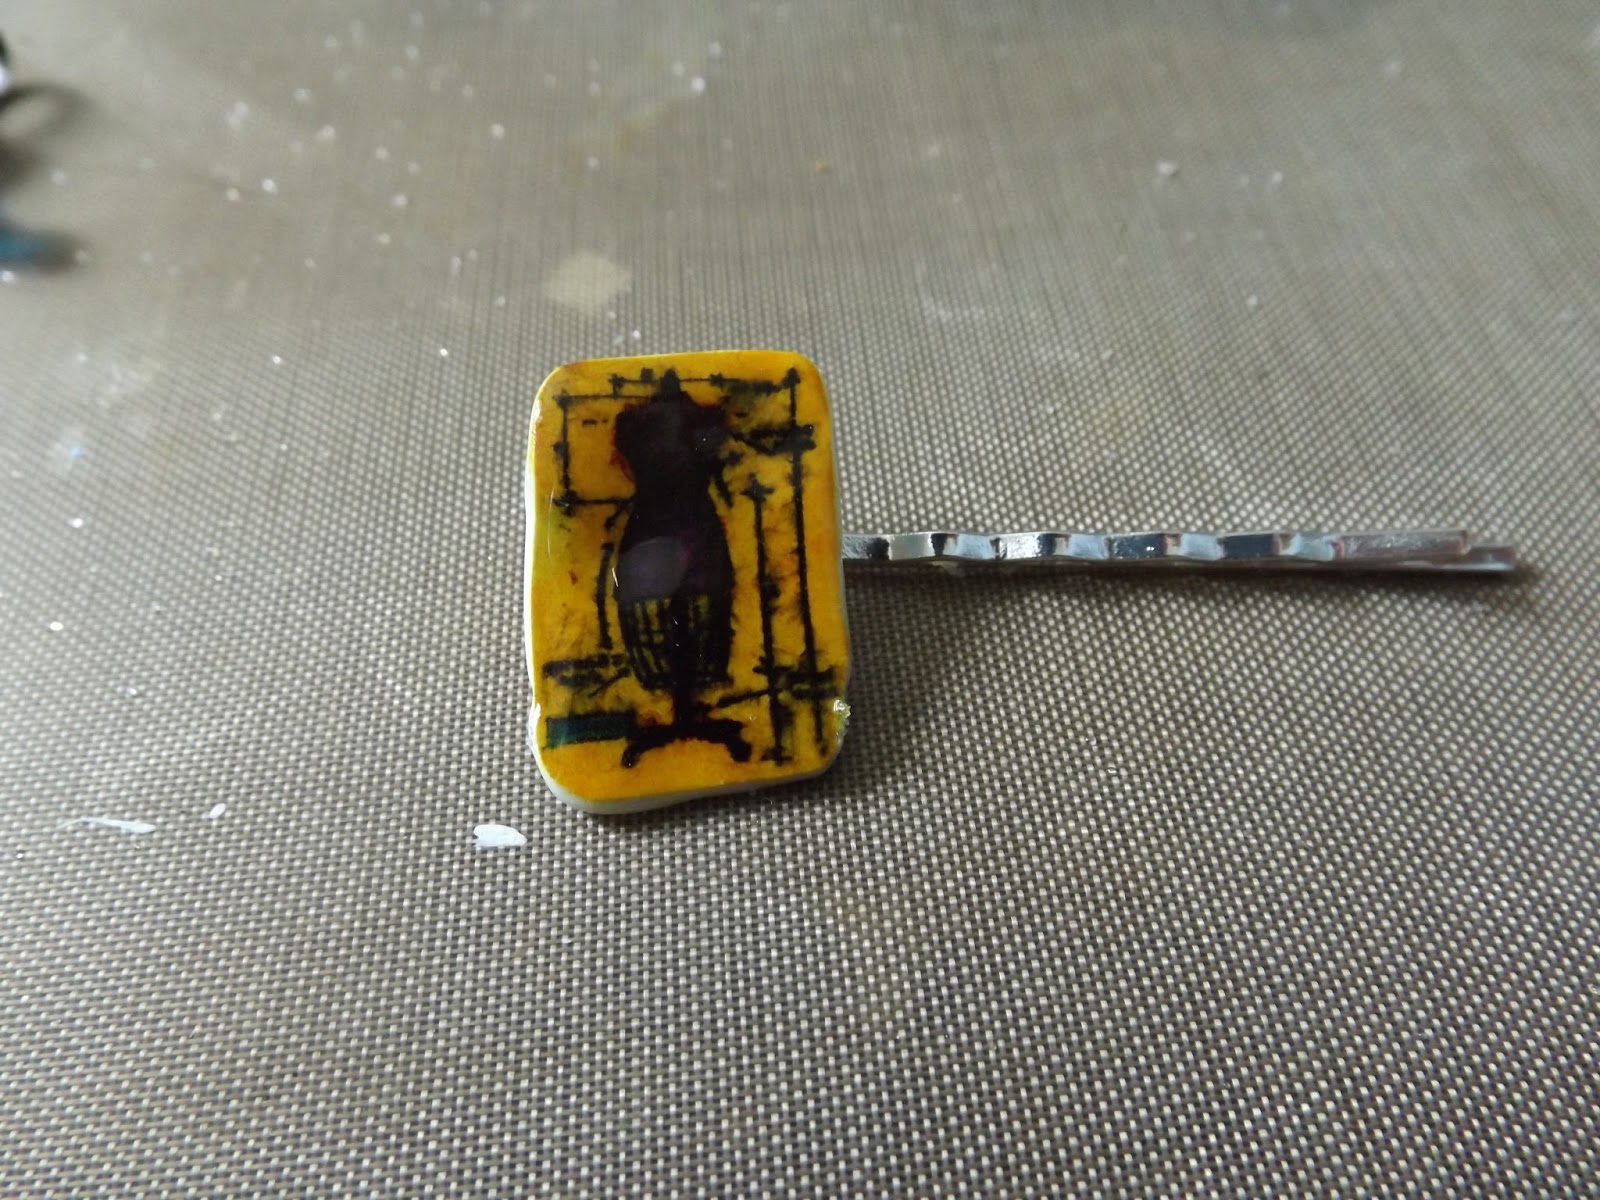
These ones are on clear plastic, again coloured with sharpies. It's best to colour on the opposite side to where you stamp as it gives it a nice dimensional aspect, as well as not rubbing the lines away. After shrinking I painted the backs with white gesso, to give the baackground I didn't colour some depth, and to make the colours pop a little.

Here's another one like that. I used two different stamps to make a scene. One thing you have to remember with sharpies and shrink plastic is that the colour darkens once shrunk, so bear that in mind.
The two below are stamped and coloured, but I did not paint the background. This gives you an idea of how a simple word stamp can be used to make an effective necklace.


I forgot, here is another one of the white plastic ones! Whoops!
Anyway so there you have it, and now I want more shrink plastic! Can't get anymore until I decrease some other parts of my stash a little first, but it's on my list!
Ems
A pair of old Disney christmas socks. The furry parts on the top are a little tight on my fankles now. In the bin.
A load of craft magazines. I tend to get all the tips I need online now, so I didn't need these anymore. Binned. (bin can mean recycling by the way)
A belt. As you can see from the picture below it has started peeling, and it can't be fixed. Bin.

Ah the bane of my existence - the glittery sock! Why do I insist on buying stuff like this? Bin

Grey fluffy socks. Past their best, they have lost their elasticity and bring to mind my childhood nickname of Nora Batty. Bin


Christmas socks. Good god these are awful. You'd think they would be comfortable but with Rudolph at the top of each (one minus his nose) they are not. Bin.

Also thrown away but not pictured are a pair of knickers. They had a hole in, in addition to the three they are supposed to have. Bin.
Next is an up to date pic of the Disney stitch. This page is definitely going to take me past the end of this month, which unfortunately means less time on the Middle Earth stitch


Finally, I have used up the last of my shrink plastic today, to make some jewellery. I had a little bit of white, and a page of clear. To use clear you have to sand it first. If you want to stamp like I did, you have to use an ink like Stazon, as that does not smudge.


These are Tim Holtz blueprint stamps, onto white shrink plastic, coloured with sharpies. After shrinking (use the low setting on the heat gun and they never do that awkward curling thing where the edges stick to each other) I used UTEE on them at the end to seal them.


These ones are on clear plastic, again coloured with sharpies. It's best to colour on the opposite side to where you stamp as it gives it a nice dimensional aspect, as well as not rubbing the lines away. After shrinking I painted the backs with white gesso, to give the baackground I didn't colour some depth, and to make the colours pop a little.

Here's another one like that. I used two different stamps to make a scene. One thing you have to remember with sharpies and shrink plastic is that the colour darkens once shrunk, so bear that in mind.
The two below are stamped and coloured, but I did not paint the background. This gives you an idea of how a simple word stamp can be used to make an effective necklace.


I forgot, here is another one of the white plastic ones! Whoops!
Anyway so there you have it, and now I want more shrink plastic! Can't get anymore until I decrease some other parts of my stash a little first, but it's on my list!
Ems
Hello Ems.
ReplyDeleteGreat makes - but my favourites out of them all are the two little 'hello' - the one in green and one in blue. There's something so sweet about those. They're kind of conversation starters too!
Hope everything is tickety boo in your world.
Wishing you a wonderful weekend. ~ Cobs. x
Thanks Cobs - wish i had more sentiment stamps like that! And more shrink plastic! Have to use some more of my stash before I buy anything else though
Delete